
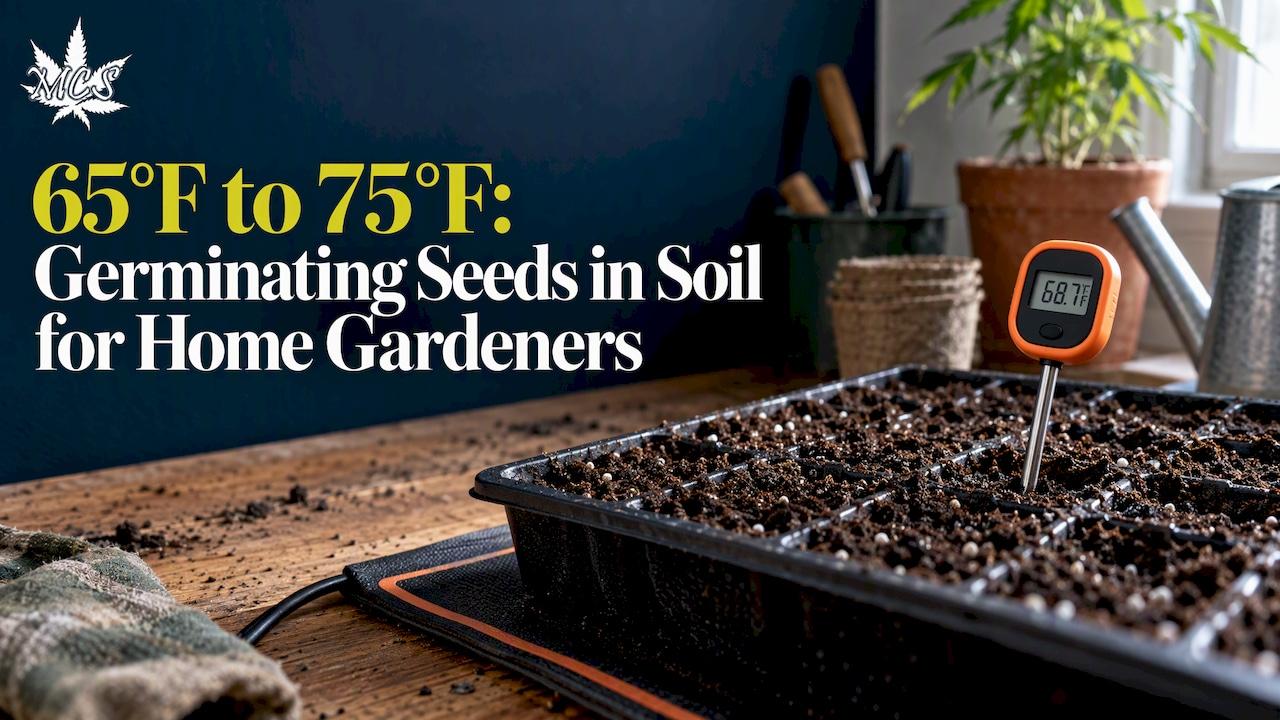
Germinating seeds in soil successfully comes down to four decisions made before sowing and three habits kept after it: use a sterile seed-starting mix, sow at the right depth, keep the medium moist but never soggy, and hold soil temperature in the 65°F to 75°F range. Soil temperature and drainage account for most germination failures, and damping-off remains the top cause of seedling loss. A soil thermometer and dated labels turn guesswork into a repeatable process, and that is the approach we lean on throughout this guide.
TL;DR:
- Peppers often need soil temperatures of 80°F to 90°F until emergence, so use a thermostat controlled heating mat and check moisture daily.
- Sow most seeds at a depth two to three times their diameter, but leave lettuce and petunia seeds exposed because they need light to sprout.
- Bottom water to keep foliage dry, sanitize trays between batches, and use a fan after emergence to reduce conditions that encourage damping off.
- After seedlings emerge, remove humidity domes and place lights 2 to 3 inches above plants for 12 to 14 hours daily.
- If seeds still fail to sprout after checking temperature, moisture, and depth, test viability in a damp, sealed paper towel before resowing an entire tray.
Table of Contents
- Choosing the right soil or mix for seed starting
- Setting up containers, drainage, and a clean workspace
- How to sow seeds for the best soil contact
- Watering technique that keeps seeds moist, not drowning
- Getting soil temperature right to speed germination
- Light and care once seedlings break the surface
- Preventing damping-off and other early seedling diseases
- Troubleshooting seeds that refuse to sprout
- What years of seed starting teach you about consistency
- Where to find quality seeds and starter support
- FAQ
- Sources
Choosing the right soil or mix for seed starting
A soilless seed-starting mix beats garden soil for one simple reason: it starts clean. Garden soil carries fungal spores, weed seeds, and uneven texture that compact around tender roots, while a mix of peat or coco coir blended with perlite or vermiculite drains fast and holds no disease baggage. Utah State University Extension notes that most seed-starting mixes are soilless for exactly this reason, combining lightness with a disease-free start.

Before sowing, pre-wet the mix until it reaches what extension horticulturists call a "wrung-out sponge" consistency, damp enough to clump loosely but never dripping. Pre-wetting matters because dry peat resists water and creates dry pockets that strand seeds right after you sow them.
A simple approach covers most situations:
- Combine two parts peat or coco coir with one part perlite or vermiculite for balanced drainage and moisture retention.
- Moisten the mix thoroughly before filling trays, checking that squeezed handfuls hold shape without releasing water.
- Skip garden soil for indoor starts: it compacts, drains poorly, and often carries the pathogens responsible for early seedling loss.
Setting up containers, drainage, and a clean workspace
Any tray or cell works as long as it drains. Plastic cell packs are reusable and hold moisture evenly, peat pots skip transplant shock since you plant the whole pot, and small individual pots suit larger seeds like squash or beans that resent crowding.
Label every tray with the crop name and sowing date. Weeks blur together once several trays share a windowsill, and a date tells you whether slow germination is normal or a warning sign. A humidity dome helps retain moisture during the first several days, but it needs to come off the moment seedlings emerge.
- Choose containers with drainage holes; standing water at the bottom invites root rot.
- Keep a small fan running nearby once trays are uncovered to move stagnant air and discourage fungal growth.
- Wipe down trays and tools with a diluted bleach solution between uses to cut pathogen carryover.
Pro Tip: Reuse last season's trays only after a full scrub and disinfecting soak, since leftover residue can harbor the same fungi that cause damping-off.
How to sow seeds for the best soil contact
Sowing depth depends almost entirely on seed size, and getting it wrong is one of the easiest ways to stall germination before it starts.
- Measure each seed's diameter and sow at a depth of roughly 2 to 3 times that width, a rule Utah State University Extension applies across most vegetable and flower seeds.
- Leave very small, light-requiring seeds like lettuce or petunia on the surface with little or no covering, since burying them blocks the light signal they need to sprout.
- Use a pencil tip or a dibble to create evenly spaced holes, which keeps rows consistent and makes thinning easier later.
- Sow two or three seeds per cell to hedge against poor germination, then thin to the strongest seedling once true leaves appear.
- Press the mix gently over each seed to close any air gaps, since firm seed-to-soil contact speeds water uptake and triggers germination faster than loose, fluffy coverage.
Watering technique that keeps seeds moist, not drowning
Seeds need steady moisture, not a flood. Bottom watering, where trays sit in a shallow pan of water and the mix wicks moisture upward, keeps the surface and emerging stems dry while still saturating the root zone. University of Minnesota Extension points to this method as one of the most reliable ways to prevent fungal disease at the seedling stage.
A light surface misting works for the first day or two if the top layer starts to dry before roots reach down, but top-watering with a heavy stream displaces small seeds and compacts the mix.
- Check moisture daily by pressing a finger into the mix; it should feel like a wrung-out sponge, damp but not dripping.
- Water dry spots individually rather than soaking the entire tray, which avoids overcorrecting into soggy conditions.
- Remove humidity domes as soon as the first seedlings emerge, since trapped moisture on young leaves is exactly what fungal pathogens need to take hold.
Getting soil temperature right to speed germination
Soil temperature drives germination speed more directly than air temperature does, because the seed itself responds to the warmth of the medium surrounding it, not the room around the tray.
Most vegetable seeds germinate best between 65°F and 75°F of soil temperature, while heat-loving crops like peppers often need 80°F to 90°F until they emerge. That gap explains why a tray sitting on a cool windowsill can take twice as long to sprout as one on a heating mat.

A seedling heating mat paired with a thermostat keeps temperatures steady without overheating the mix, and a simple soil probe or kitchen thermometer inserted an inch deep gives a far more accurate reading than guessing from room temperature. Check heated trays daily for moisture loss, since warmth speeds evaporation along with germination.
Light and care once seedlings break the surface
The moment seedlings emerge, light becomes the priority. Weak or distant light causes stretching, a telltale stringy stem reaching for a far-off window.
- Position LED or fluorescent shop lights 2 to 3 inches above seedlings and raise the fixture as plants grow, a spacing Utah State University Extension recommends for adequate light intensity.
- Run lights 12 to 14 hours a day to mimic strong natural daylight.
- Watch for pale, leggy stems as the first sign seedlings need more light, not more water.
- Hold off on fertilizer until true leaves appear, since the seed itself supplies enough energy for the first round of growth.
- Before moving seedlings outdoors, harden them off over several days with gradually longer stretches of outdoor exposure.
Preventing damping-off and other early seedling diseases
Damping-off is the single most common way a healthy-looking batch of seedlings collapses overnight, and it is almost always preventable. University of Minnesota Extension identifies cool, wet, stagnant conditions as the common thread behind the fungi responsible, including Rhizoctonia, Fusarium, and Pythium.
- Start with fresh, sterile seed-starting mix rather than reused or garden soil.
- Sanitize trays and tools with a diluted bleach solution before every new batch.
- Avoid oversaturating the mix, and remove humidity domes the moment seedlings appear to let airflow in.
- Add a small fan for gentle air movement once trays are uncovered.
- At the first sign of a thin, water-soaked stem base, isolate affected seedlings immediately and stop watering the rest until the surface dries slightly.
Pro Tip: Bottom-watering throughout the entire germination period keeps foliage dry and removes one of damping-off's favorite entry points.
Troubleshooting seeds that refuse to sprout
When seeds fail to emerge on schedule, work through a short checklist rather than guessing. Confirm soil temperature sits in the target range, check that the mix has stayed consistently moist rather than cycling dry and wet, and verify sowing depth matches the seed's size.
If timing still seems off, a paper-towel germination test settles the viability question fast: fold a handful of seeds into a damp towel, seal it in a bag, and check in a few days for sprouting, a method Utah State University Extension recommends before assuming a batch is bad. Our own paper towel test walkthrough covers the technique step by step for home growers working with cannabis seed, including notes on identifying seedlings and sex once they sprout.
- Rule out seed age and storage conditions first, since both strongly predict germination rates.
- Re-check soil temperature with a probe rather than trusting room air.
- Re-sow promptly if the paper-towel test shows the seeds are no longer viable.
Seed age and storage conditions strongly predict germination outcomes, and a quick paper-towel check saves tray space that would otherwise sit empty for weeks.
What years of seed starting teach you about consistency
Repeatable germination comes from small daily checks, not occasional big interventions. A soil thermometer, a dated label, and five minutes each morning catch problems while they are still easy to fix.
The growers who get this right track what worked, adjust one variable at a time, and treat failed batches as data rather than disasters. Our germination case studies walk through exactly these kinds of fixes in more detail.
— Dino Grow Master
Where to find quality seeds and starter support
Strong genetics make every step above easier, which is why we curate feminized seeds, autoflower seeds, and mix packs bred to germinate reliably for growers working through exactly the process described above.

Every order is backed with a germination guarantee and paired with detailed strain information, supporting your efforts with quality genetics.
- Feminized seeds for predictable, pollen-free female plants.
- Autoflower seeds for shorter, lower-maintenance cycles.
- Mix packs for growers who want to compare several genetics in one season.
| Seed category | Best suited for |
|---|---|
| Feminized Seeds | Growers wanting guaranteed female plants |
| Autoflower Seeds | Growers wanting faster, lower-maintenance cycles |
| Mix Packs | Growers comparing multiple genetics at once |
Browse our full seed catalog to find genetics matched to the setup you just built, and check our starter equipment guide if you still need trays, lights, or a heating mat.
FAQ
Can you germinate seeds directly in soil?
Yes, sowing seeds directly into a sterile seed-starting mix works well for most crops, as long as depth, moisture, and temperature stay within target ranges. Some growers pre-germinate with a paper-towel method first and transplant the sprouted seed into soil, which can help confirm viability before committing tray space.
What are the common mistakes to avoid while sowing seeds?
The most frequent errors are sowing too deep, overwatering into soggy conditions, and using unsterilized garden soil that invites damping-off. Leaving humidity domes on too long after emergence and keeping light sources too far from seedlings also commonly stunt or kill young plants.
Does hydrogen peroxide make seeds germinate faster?
Diluted hydrogen peroxide is sometimes used by home growers as a priming soak intended to soften seed coats and discourage surface pathogens before sowing. Treat it as a supplementary technique rather than a guaranteed fix, and pair it with correct soil temperature and moisture since those factors matter more for germination speed.
What is the most successful way to germinate seeds?
The most reliable method combines a sterile seed-starting mix, sowing depth of about 2 to 3 times the seed's diameter, consistent moisture, and soil temperature held between 65°F and 75°F for most vegetable seeds. Checking these variables daily with a thermometer and adjusting early catches problems before they cost you the whole tray.
Sources
- Starting vegetable seeds indoors: II. Materials | Utah State University Extension
- How to prevent seedling damping off | University of Minnesota Extension